Growers who’re into growing microgreens tend to grow them in trays but what if you want to grow on a small scale?
Maybe you just want to grow for yourself or just on a trial basis before getting serious about growing those greens on large scale. If that is the case then you should grow microgreens in coconut shells.
Coconut shells! Seriously?!
Whenever you have consumed coconut, 9 out of 10 chances are that you have discarded the shells, haven’t you?
But, in this article, you will learn a really innovative way of growing your microgreens in those coconut shells. If you are a believer in recycling and using organic mediums like coconut shells is one of the most nature-friendly and cost-effective ways to grow your plants. Yes, you can grow any plants in them, not just microgreens!
Eating microgreens is itself a healthy and organic way of living but organically growing them is also an environment-friendly way to start your journey of healthy living.
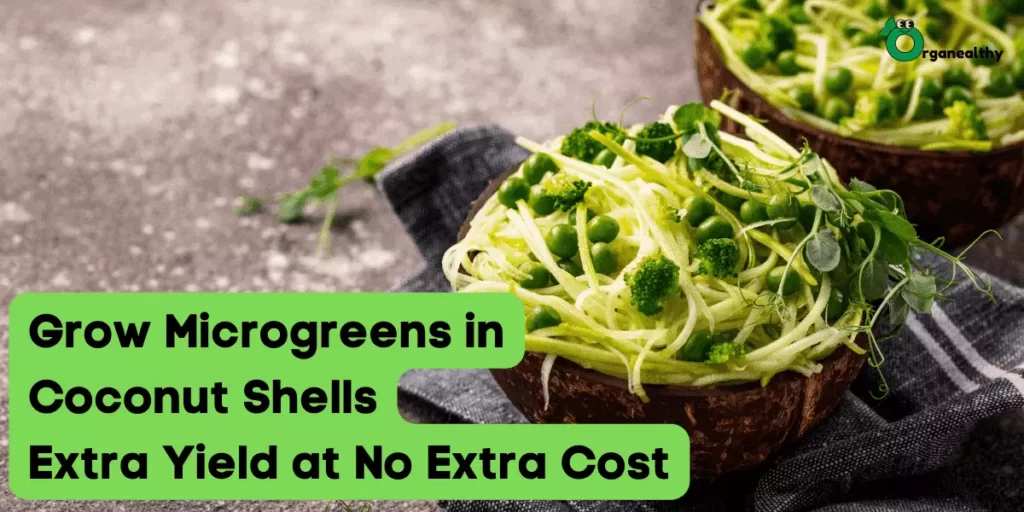
What Will You Need to Grow Microgreens in Coconut Shells?
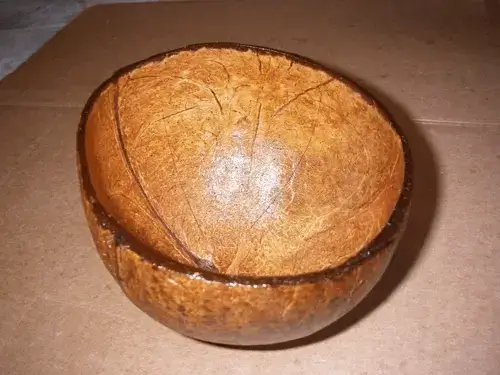
You can take as many coconut shells as you have but for trial purposes, you can take 2 coconut shells that are scraped and cleaned from inside. See the image below.
Next, you will be needing some kitchen waste (fruit peels or vegetable remnants), or you can even use compost if you have.
After this, you will need a good quality of soil or cocopeat, you can also use a combination of both, and water.
The last ingredient that you will be needing is seeds, just 2 or 3 teaspoons. You can use any seeds that are easily available to you. You can use fenugreek, fennel, sunflower, mint, coriander, oregano or wheatgrass, as these are not just easily available but easy to grow as well, especially if you’re a beginner.
And, now you are ready to grow microgreens in coconut shells.
Preparing Coconut Shells for Growing Your Microgreens
To grow microgreens in coconut shells, grab the shells and put a handful of compost/fruit peels/vegetable remnants in them to create the bottom layer. Above this layer, you need to sprinkle a good amount of soil, create a good layer of soil.
After this, if you have access to some cocopeat then add a layer above the soil layer. If you don’t, it’s fine, your microgreens will grow either way.
Cocopeat is a natural ingredient used as a soil amendment as it improves the productivity of the soil and also enhances its texture, cocopeat also allows sufficient aeration from good root growth of your plants. It also increases the water retention capacity of the soil.
Now, moist the soil a little with a few sprinkles of water and then add your seeds. Cover the seeds with a light layer of soil and then again sprinkle some water.
You are done for the day.
After this, every day, till the day of harvest, you need to look after your greens and water them appropriately to keep them moist and ensure proper growth.
Points to Remember
- If you want to grow microgreens in coconut shells, then you must ensure that when you cut open the coconut you must crack it in two equal halves. Too big or too small shells do not make good planters.
- It is recommended that you drill a small hole, of about half a centimeter, at the bottom of the coconut shell. This will help in maintaining the optimum water level in the soil and draining out excess water. It will also prevent your microgreens from rotting.
- If you are growing multiple crops in multiple shells, then remember to nametag them. As different greens need different levels of moisture, tagging them with names will help you grow them accordingly.
- After 3-4 days, you will start seeing germination of the seeds, so keep patience.
- Once your microgreens are 3-4 inches tall, they are ready to harvest.
- You can also use these coconut shells as seeding beds or nurseries for plants like tomato, chilly or ladyfingers, you can germinate their seeds in the coconut shells and then move them into bigger pots when they’re ready to mature.
- You can also use the same coconut shell for growing different varieties of microgreens. For example, coconut shells once used for growing coriander can next time be used to grow sunflower microgreens, this reusing method proves really beneficial for maintaining soil health. As coconut shells take a long time to compost, it is advised to use them multiple times until they break.
- You can also reuse the soil for growing other microgreens, as the coconut shells are bound to break after some time.
- One important point to note down is that if you are reusing the same soil again for the next batch then it would be less nutritious than the first batch grown in that soil. That’s why it is recommended to use new soil with a new batch of seeds.
So, Are You Ready to Grow Microgreens in Coconut Shells?
Now that you have learnt how to grow microgreens in coconut shells, go ahead and try this method at your home.
You will surely be surprised to see the results.
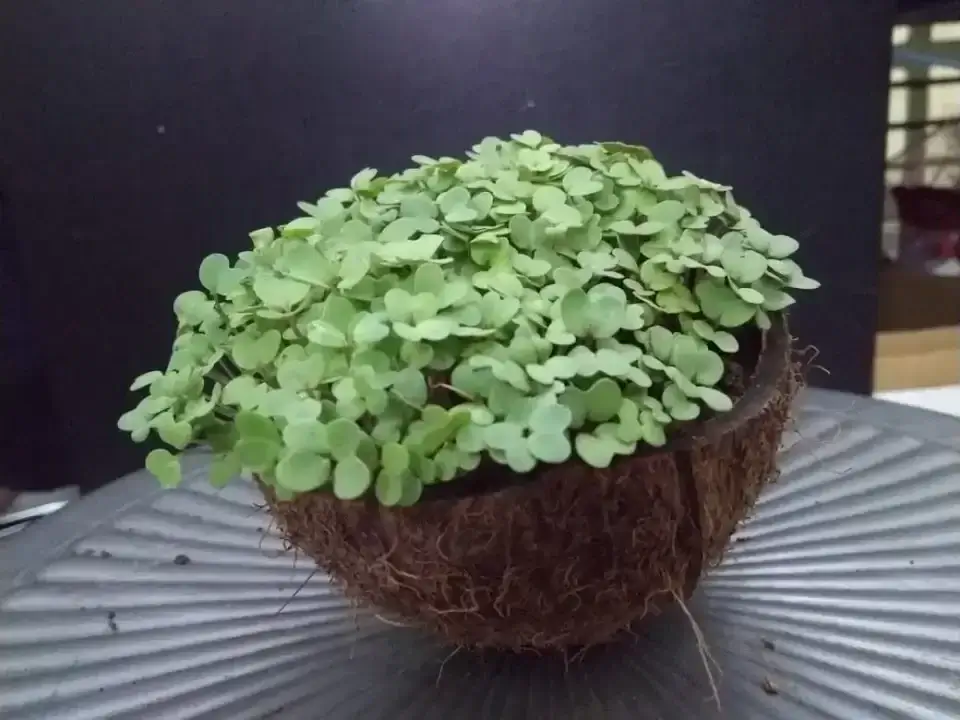
This is one of the easiest ways to recycle the coconut shells that are mostly either thrown away or lie somewhere in the corner of your house.
Along with coriander, parsley and basil, microgreens are growing in popularity as a topping on food, and if you are one of those people who like to have a small farm on their balcony where they can grow their chillies, coriander, curry leaves, parsley then today’s knowledge of how to grow microgreens in coconut shells can give you a lot of ideas to experiment in your micro-farm.
When you grow microgreens in coconut shells you will not only be cutting your costs, as you will no longer be needing plastic trays, but it will also give you a chance to experiment with your microgreens growing method. This is one of the most organic ways of growing your microgreens and also a cost-effective way.
If you are into growing microgreens indoors then this method is something that you should definitely give a try.


